Ceremony and Reception Lighting
If there’s one thing that can quietly make or break your wedding photos, it’s light. It affects the mood, the skin tones, the detail—and how timeless your images look. As photographers, we’re trained to work in all kinds of lighting conditions, but there’s no denying that good light makes everything easier and more beautiful.
Whether you're saying your vows under the sun, inside a church, or at a cozy evening reception, here’s what you should know about light—and how to choose the right setup for the moments that matter most.
1. Natural Light Wins—When You Can Get It
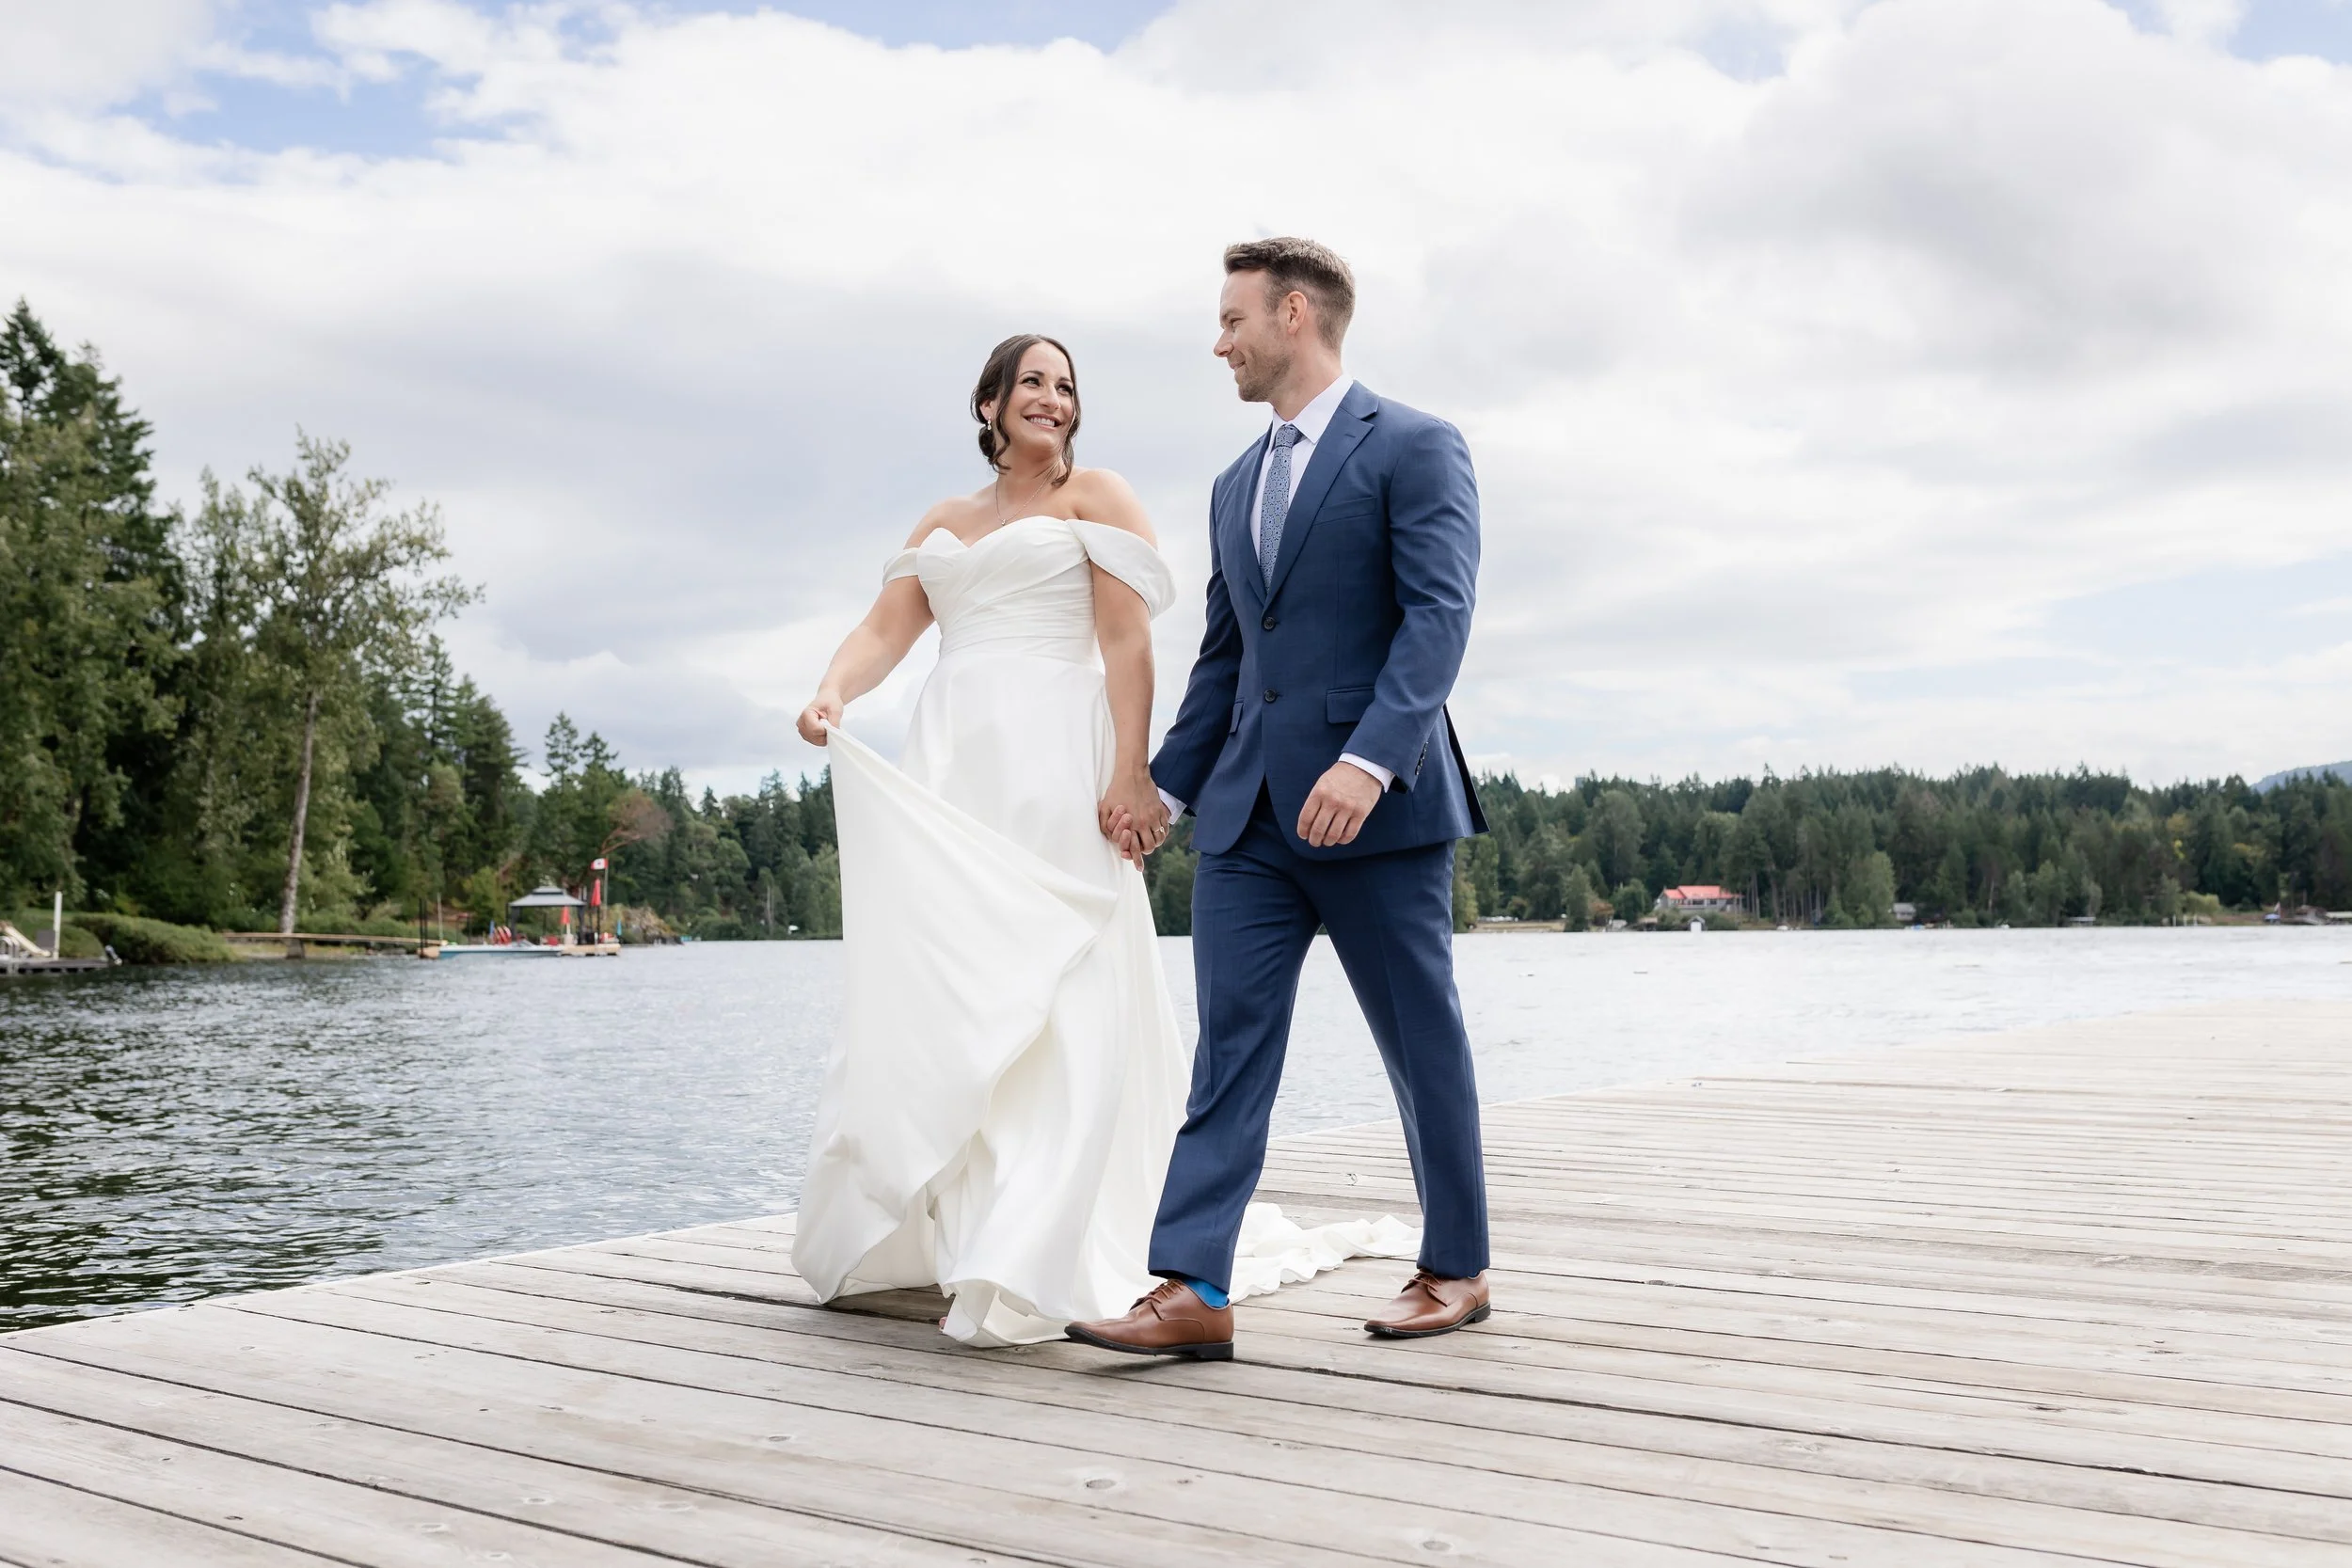
For your ceremony, outdoor light is gold—especially in the couple of hours before sunset (the "golden hour"). It gives everything a soft, romantic glow and keeps skin tones looking natural.
If you’re getting married indoors, look for venues with big windows, white or light-coloured walls, and plenty of daylight. Think modern barns, studios, greenhouses, or even churches with lots of natural light.
What to avoid:
Dark wood paneling + no windows
Harsh spotlights or mixed light sources (warm + cool bulbs combined)
Strong uplighting or coloured DJ lights during important moments
2. Watch the Sun’s Position
If your ceremony is outdoors, ask your planner or venue where the sun will be during your vows. Direct sun in the middle of the day can create harsh shadows and squinting faces.
Better:
Shade from a tree, canopy, or building
Scheduling your ceremony for late afternoon
Positioning yourselves so the sun is behind you (backlight looks dreamy in photos)
Pro tip: Ask your photographer to help scout or suggest the ideal setup—they’ll know exactly where the light will fall and how to work with it.
3. Reception Lighting: Set the Mood, But Keep It Clean
Evening receptions are all about ambiance—candles, string lights, warm tones. But here’s the deal: if it’s too dark, your photos will rely heavily on flash, which changes the look.
That’s not a bad thing, but here’s how to get the best of both worlds:
Use twinkle lights, uplighting, and candles—but not only candles.
Avoid green or red LED lights on faces during key moments (first dance, speeches).
Talk to your DJ or lighting company about keeping the lighting clean for 15 minutes during special moments. After that, go wild with the dancefloor!
4. Ask Your Venue What’s Adjustable
Some venues allow you to dim or control lighting levels. Others don’t. Always ask:
Can the overhead lights be dimmed during the reception?
Are there warm-toned lighting options vs. harsh fluorescents?
Can candles or fairy lights be added?
Is uplighting included, and what colours are available?
Photographers can adapt to almost anything—but knowing what we’re walking into means we can come prepared with the right lenses, flashes, and settings.
5. Communicate with Your Photographer Ahead of Time
You don’t have to know everything about lighting (that’s our job), but it helps to give us a heads-up. If you’re having a candlelit ceremony, a forest wedding at dusk, or a venue with no windows, let us know early. We’ll plan for gear and positioning accordingly.
In Short: Light Isn’t Everything, But It’s Close
You don’t need to chase perfection. Your day is about the love and the people—that’s always the heart of it. But if you have options, choosing the right light can take your photos from lovely to unforgettable.
If you're unsure what light your venue gets, I’m happy to help. I’ve shot in many lighting conditions, and I can offer honest advice on what to expect and how to make the most of it.
Let’s plan something beautiful.
— Lindsey
